Tech is Easy
How to Create a Wix Website: Wix Tutorial for Beginners
To create a website with Wix, go to wix.com, click Get Started and sign up, click Create New Site, choose Begin with a template, pick a design and click Edit, change the text, images and sections in the Wix Editor, then click Publish. This Wix tutorial for beginners covers the whole process, from an empty account to a live site with basic SEO, and suits anyone who has never built a website before.
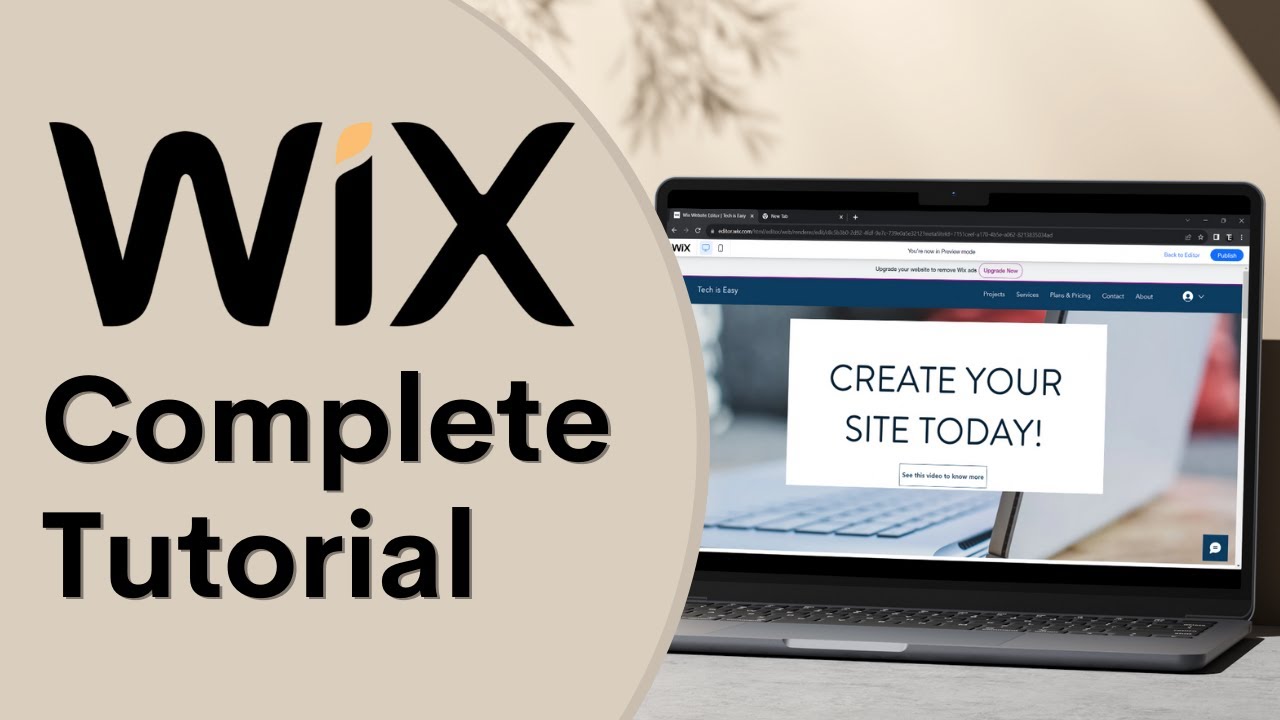
We build a personal blog here, but the editor works the same way for any template. The video is from 2023, so some buttons may look slightly different now.
What you need
- A computer with a web browser (the Wix Editor is built for desktop)
- An email address, Google account or Facebook account to sign up
1Sign up and create a new site
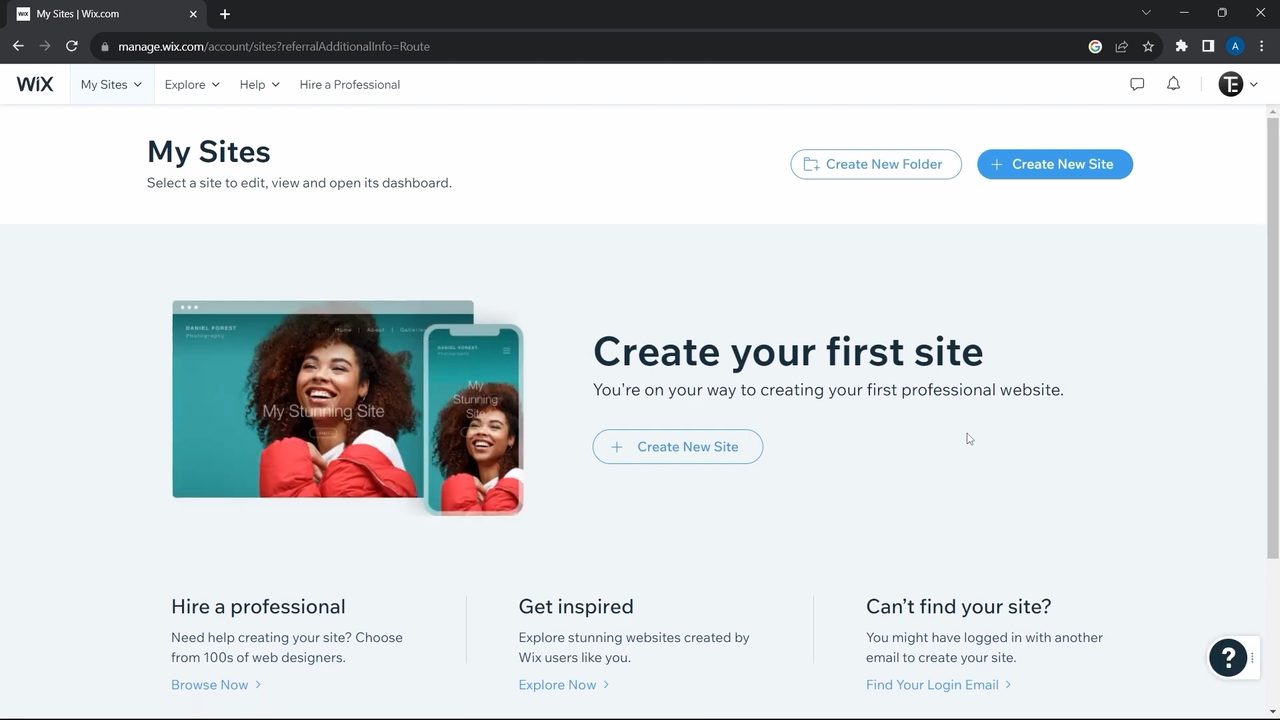
Go to wix.com and click Get Started. On the Sign Up page, choose Continue with Google, Continue with Facebook, or enter an email and password and click Sign Up. You land on My Sites. Click Create New Site.
2Answer the setup questions or skip them
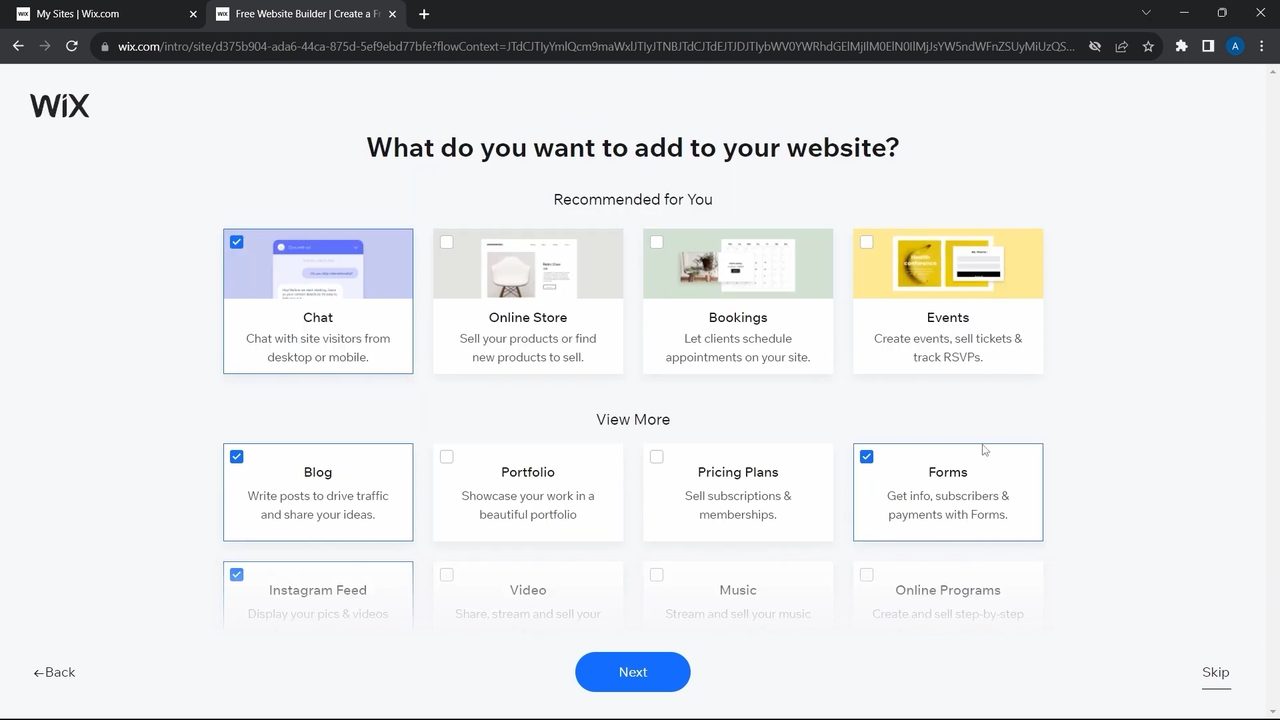
Wix asks what kind of website you're creating and what to call it. You can type a category to get suggestions, or click Skip at the bottom right. Next it asks what you want to add, such as Chat, Online Store, Bookings, Blog, Forms or Instagram Feed. Tick what you need (we chose Blog, Instagram Feed and Forms) and click Next.
3Pick a template
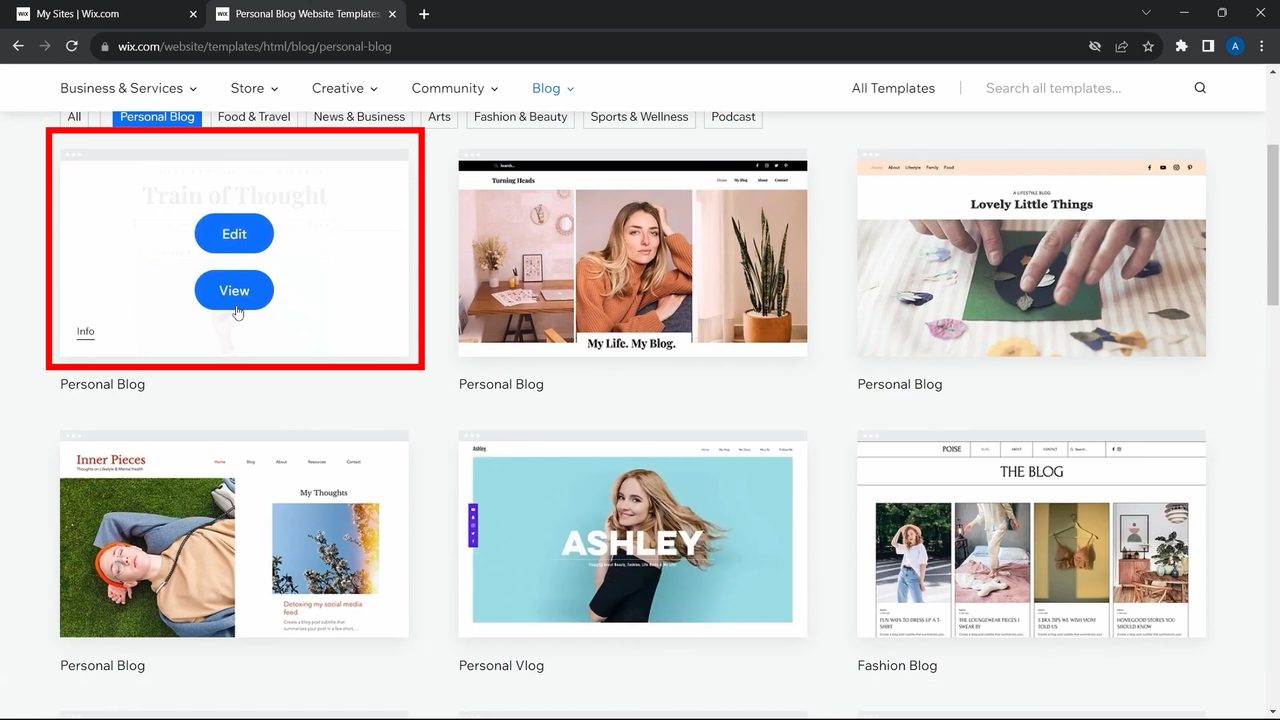
You now get two choices: Begin with a template, which gives you the most control over the design, or Get a custom-built site, where Wix builds one for you in minutes. Choose the template option. In the template gallery, browse the category menus at the top or use the search box. We opened Blog > Personal Blog. Hover over a template and click View to try the demo, then click Edit this site (or Edit in the gallery) to open it in the editor.
4Get to know the Wix Editor
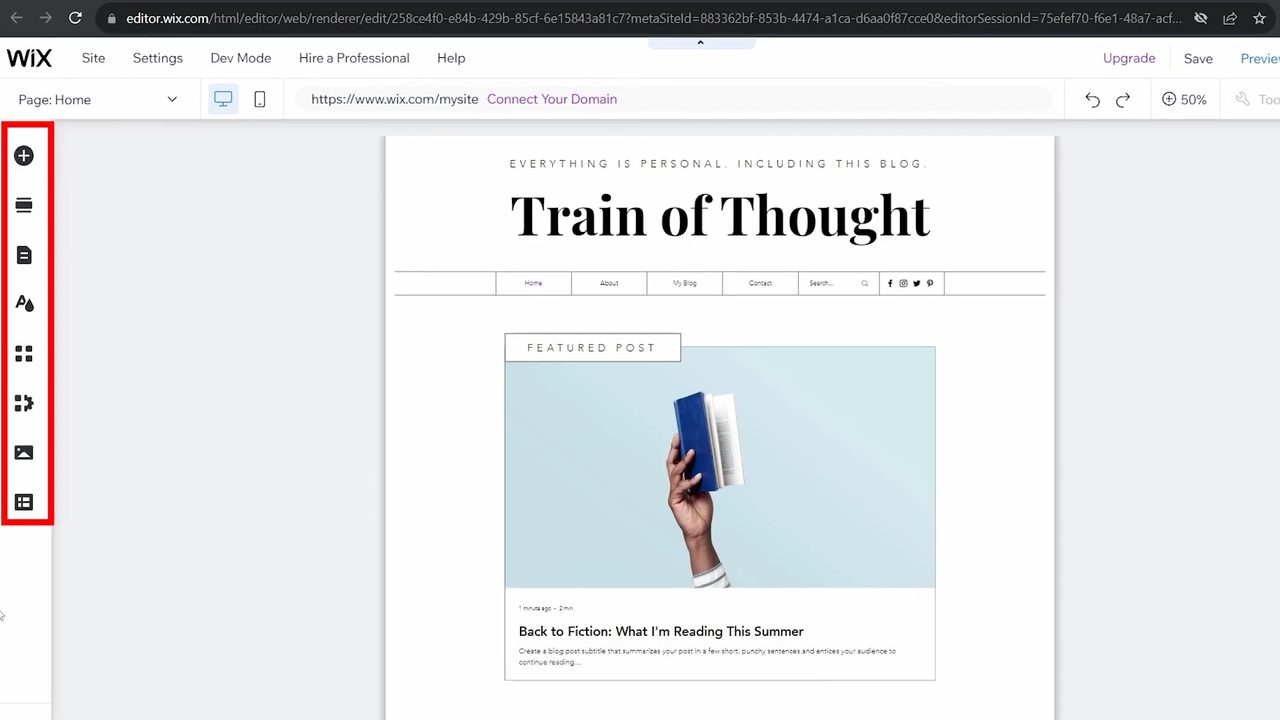
The menu on the left holds everything you add to the site: elements, sections, pages and menus, site design, apps and media. The top bar has the site settings. The large area in the middle shows the page you're editing, and Preview and Publish sit at the top right.
Every page follows the same pattern: a header with the site name and menu at the top, then a stack of sections (a featured post, an about me block, a newsletter signup), and a footer at the bottom. The header and footer appear on every page.
5Edit text, images and backgrounds
Click a section and choose Quick Edit, or double-click any text, and start typing. The Text Settings panel lets you change the theme, font, size, bold, italic and colour. To swap a photo, click it, choose Change Image and upload one from your computer. To change a background, click the side of the section and pick a new design or a plain colour. To remove something, like a Read More button or an Instagram feed, click it and press Delete.
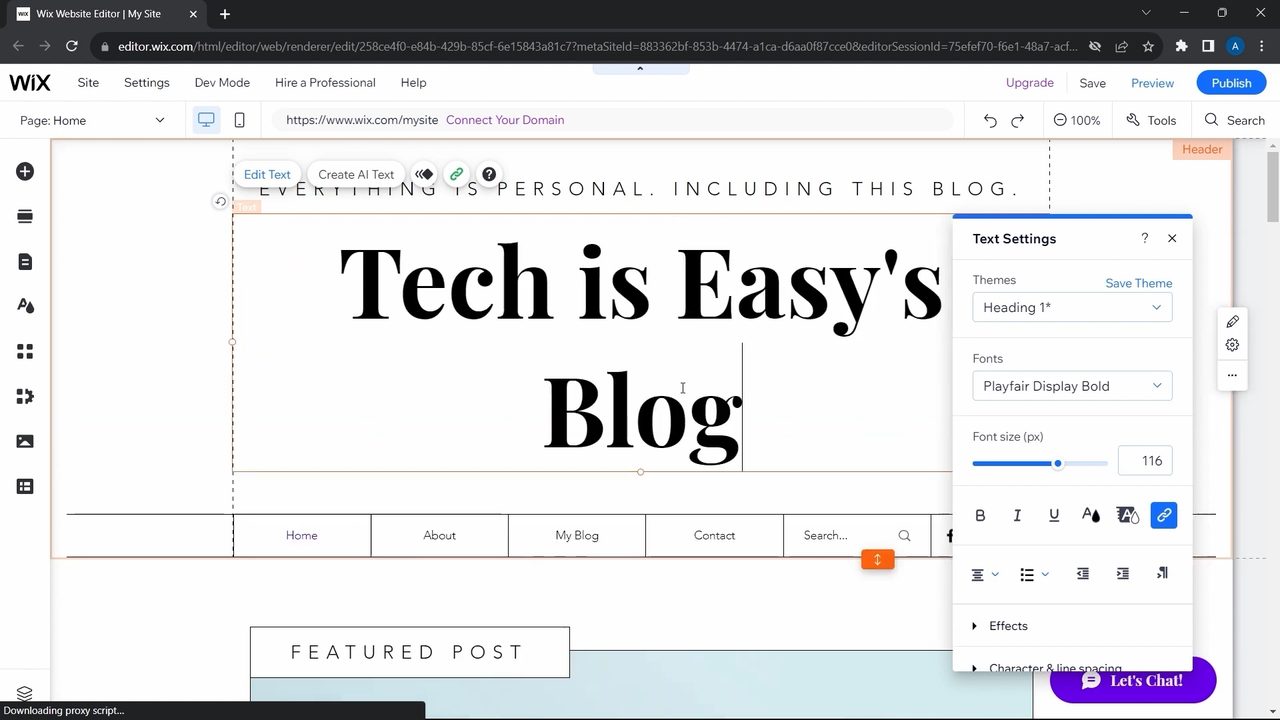
6Add elements and buttons
Click the + (Add Elements) button at the top of the left menu. You can add Text, Image, Button, Gallery and much more. Pick a style and drag it where you want it. For a button, click it, change the text (we typed "YouTube"), click the link icon and choose Web address, paste the URL and click Done.
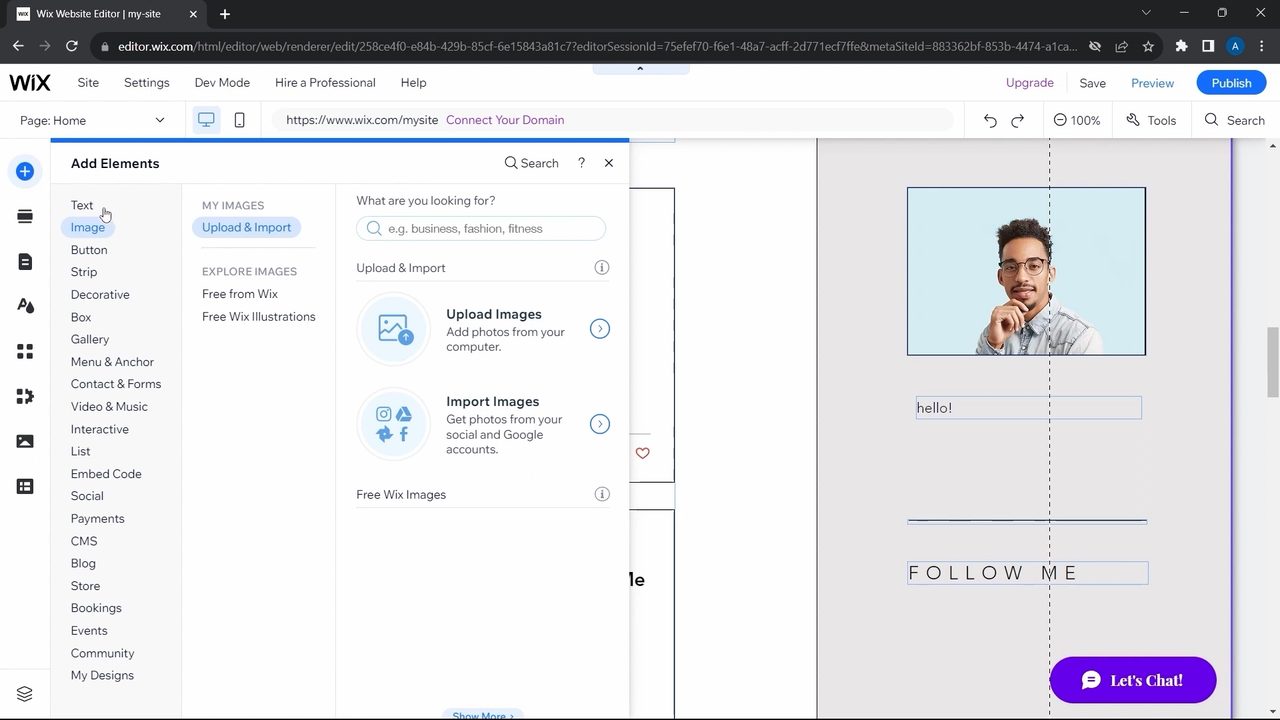
7Delete, move and add sections
To delete a whole section, select it, click More actions in the small toolbar on the right and choose Delete. The arrows in the same toolbar move a section up or down the page. To add a new one, click Add Section in the left menu, choose a type such as Team, About, Gallery or Contact, and drag the design you like onto the page.
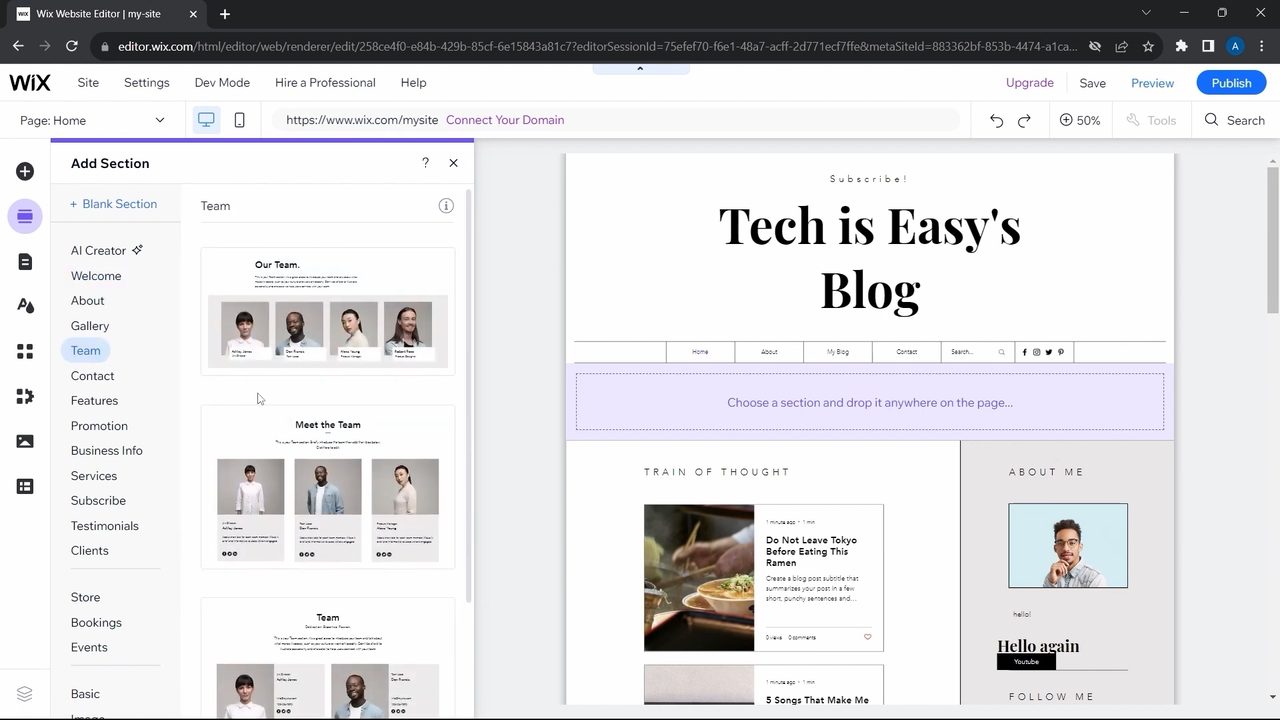
8Add, reorder and delete pages
Click Pages & Menu in the left menu. The list here matches the menu bar on your site. Click + Add Page, pick a page type (we chose a projects page), rename it and click Done, and it appears in the menu. Drag the six-dot handle to reorder pages, or drag a page under another to make it a sub-page that shows when visitors hover over the parent. To delete a page, click its three dots and choose Delete. To edit a different page, use the Page drop-down at the top left of the editor.
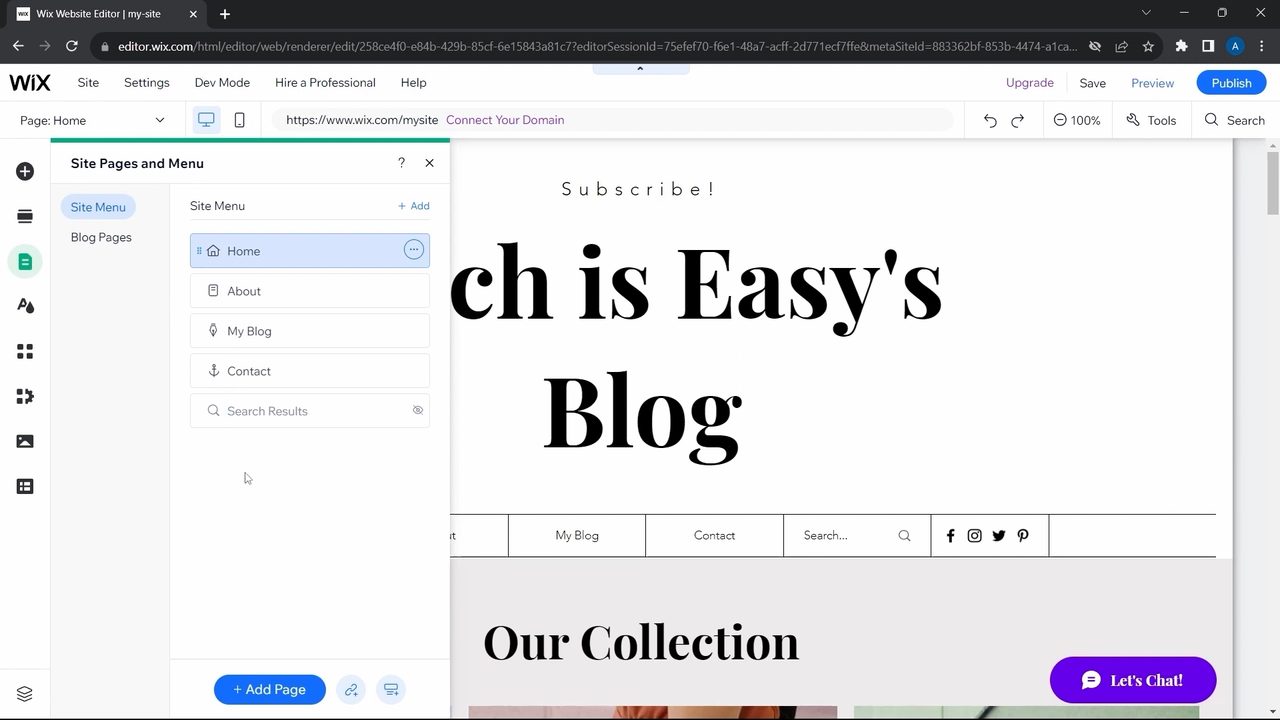
9Preview and publish your site
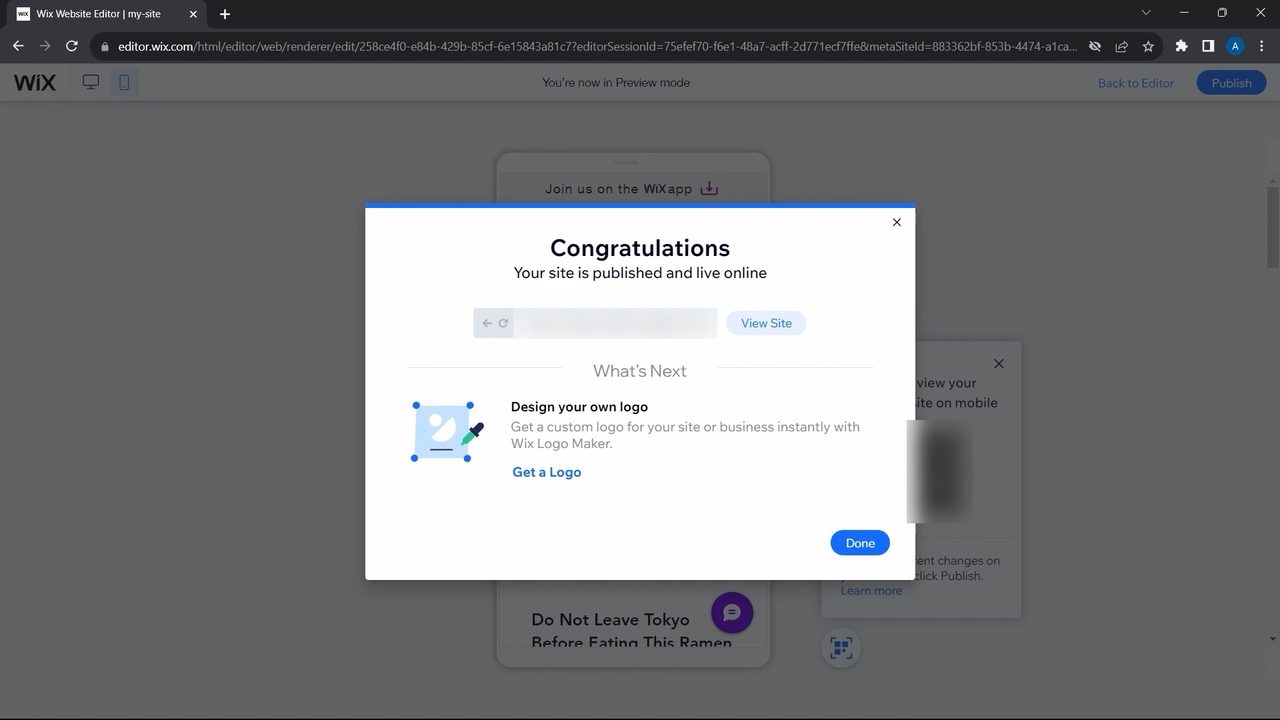
Click Preview at the top right. Use the phone icon at the top left to check the mobile version. When you're happy, click Publish. Wix shows Congratulations, your site is published and live online, with your free web address and a View Site button.
10Set up SEO so Google can find you
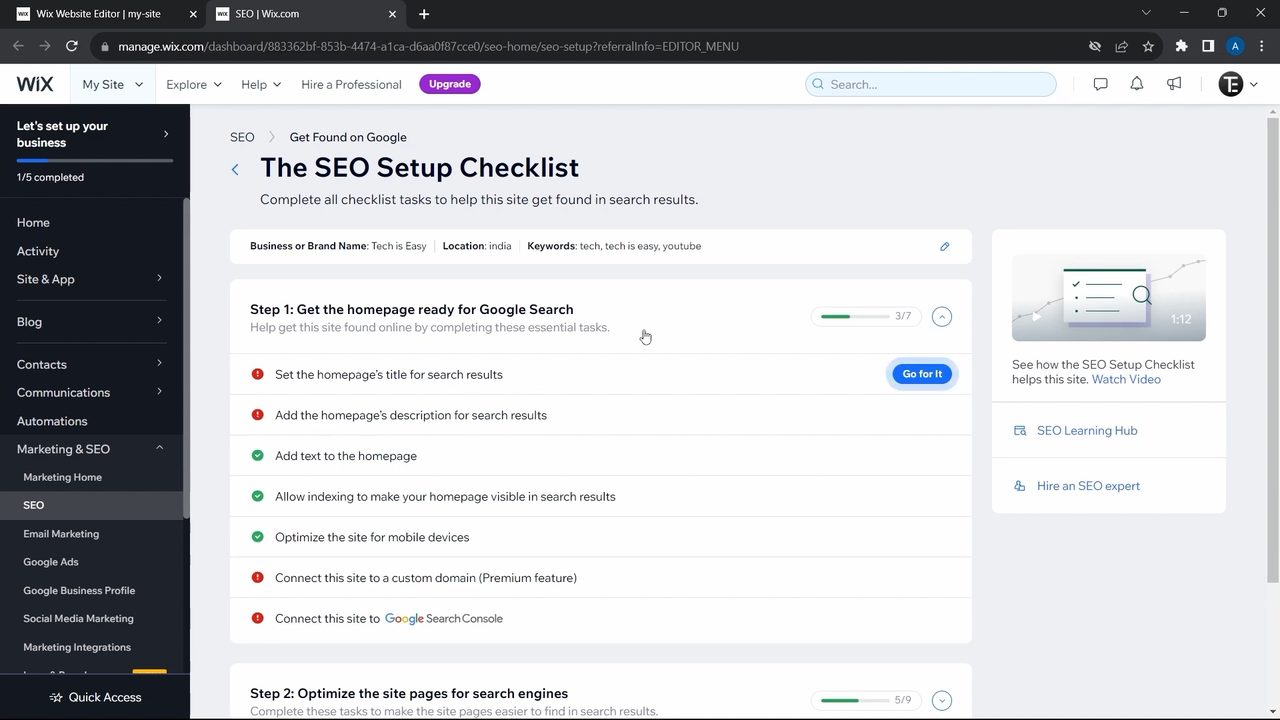
In the editor, open Settings and click Get found on Google, then click Get started. Enter your business or brand name and up to three keywords separated by commas, then click Next. Wix builds The SEO Setup Checklist. Work through each red item, such as Set the homepage's title for search results, by clicking Go for it. The same settings area has the Favicon, the small icon on the browser tab, which you can replace with your logo.
Things to know before you publish
- Save is not Publish. Wix's help page Publishing Your Site notes that clicking Save doesn't make changes live. After any edit, click Publish again.
- The free web address. On the free plan your site lives at a Wix address (yourname.wixsite.com/site-name). A custom domain is a premium feature, as the SEO checklist itself points out.
- Check mobile separately. Wix keeps a mobile layout of each page. Always preview on mobile before you share the link.
Related guide: prefer a fully free builder from Google? See How to Create a Website in Google Sites.
FAQ
Can I create a Wix website for free?
Yes. You can sign up, use any template and publish without paying. The free site uses a Wix web address. Connecting your own domain is a premium feature.
How long does it take to build a Wix website?
Starting from a template saves most of the work, since the layout, menu and sections are already there. Writing your own text and adding your photos usually takes the longest.
Can I change my Wix template after publishing?
You can edit everything on the template you picked, including text, images, colours, sections and pages. Switching to a completely different template isn't shown here; the usual route is to start a new site with the new template.
Why aren't my changes showing on the live site?
You probably clicked Save but not Publish. Saving keeps your work in the editor; only Publish updates the live website.
Related guides